
Disclosure: This post contains Amazon affiliate links. If you buy through my link I earn a small commission at no extra cost to you. Note: This tutorial is based on my own experience — opinions are my own.
📝Introduction
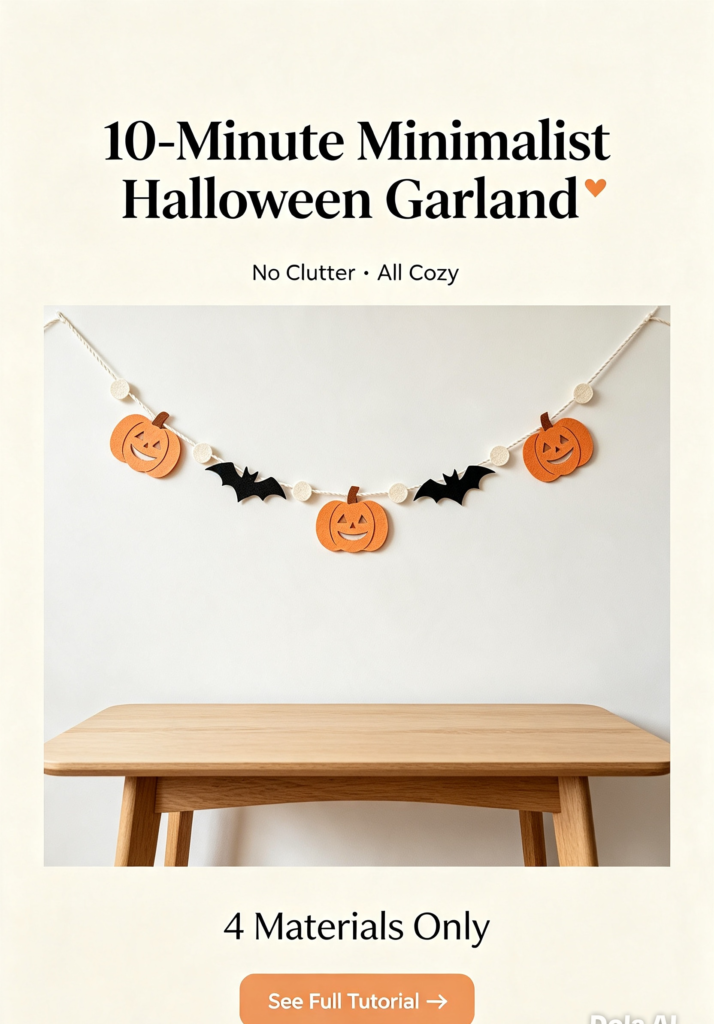
Minimalist Halloween garland proves decor doesn’t have to be loud, crowded, or colorful to feel festive. If you love a calm, clean home, you’ll love this: a simple seasonal garland you can make in just 10 minutes.
Minimalist Halloween decor means no clutter, no mess, no over-the-top decorations — just soft seasonal warmth that fits perfectly in your space. Let’s make it! 🎃✨
🧾 What You’ll Need
| Item | Details |
|---|---|
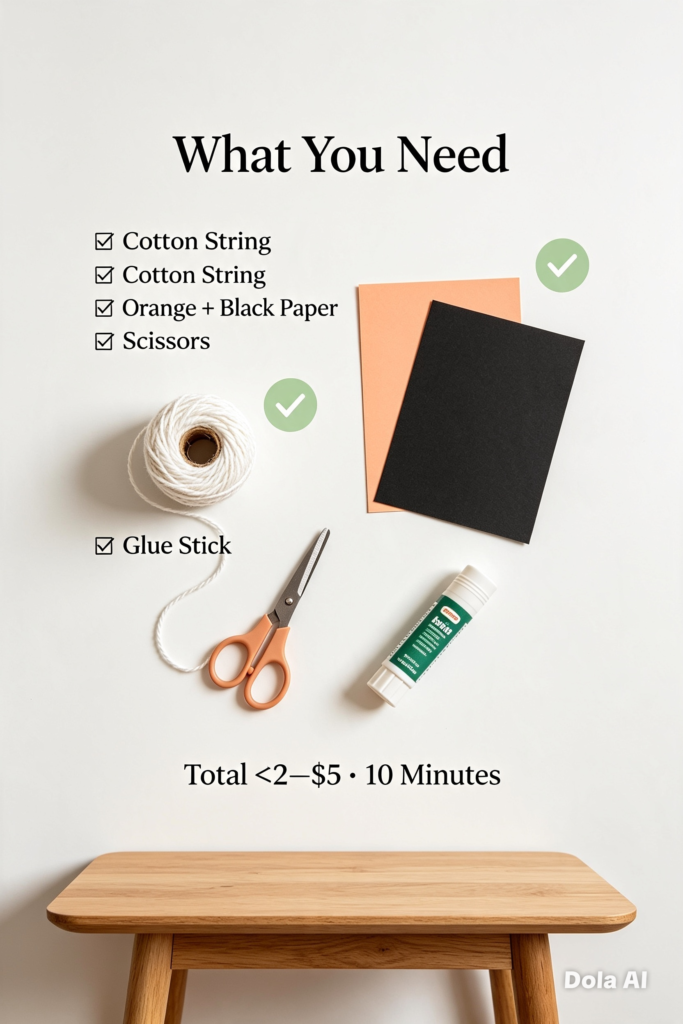
| Cream Cotton String → | Thin, natural-looking cord — sturdy yet soft |
| Soft Orange & Black Cardstock → | Muted tones — avoid bright neon; 8.5″×11″, 65lb |
| Premium Stainless Steel Scissors → | Sharp, comfortable grip — clean cuts every time |
| Acid-Free Glue Stick or Double-Sided Tape → | Clean adhesive — no stains, no wrinkling |
Optional:
- Natural Wooden Beads → — add subtle texture between shapes
- Cream Pom-Poms → — soft, cozy accents
✂️ Step-by-Step Tutorial
Step 1 · Cut Your Shapes
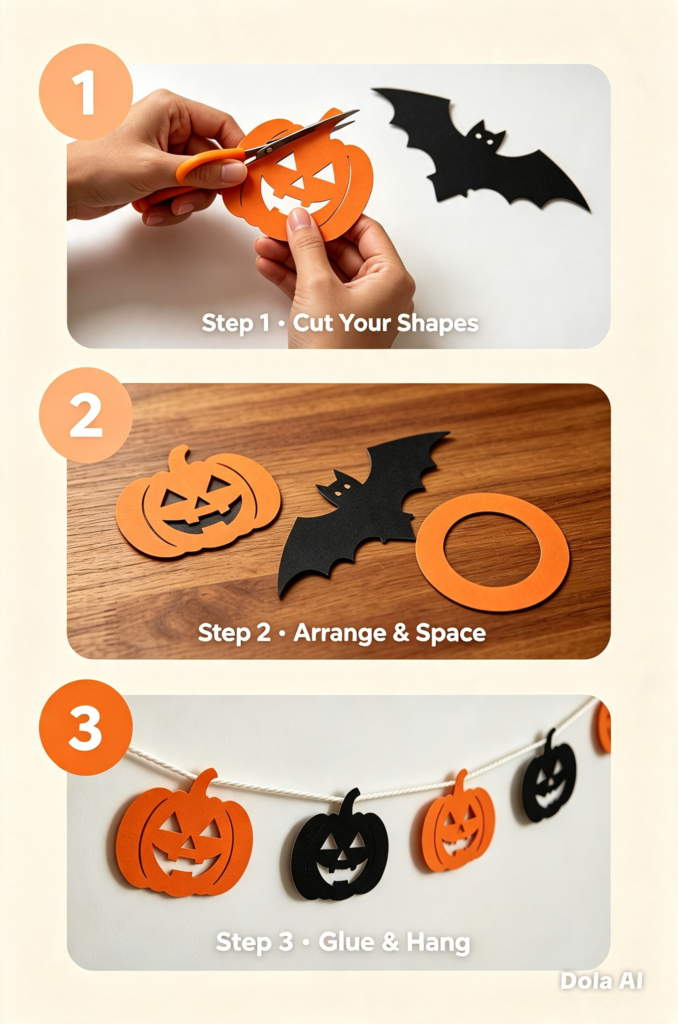
Draw simple silhouettes on your cardstock — pumpkins in soft orange, bats in matte black, and small circles in cream or white. Keep shapes clean and simple; avoid tiny details. Cut them out neatly with your sharp craft scissors → for smooth edges.
Step 2 · Arrange & Space
Lay your pieces on a flat surface. This is the secret to that minimalist feel — leave plenty of empty space between shapes. A balanced pattern works best:
Pumpkin → Bat → Circle → Pumpkin → Bat → Circle
Or keep it even simpler:
Pumpkin → Bat → Pumpkin → Bat
Don’t crowd them. That breathing space = calm, modern look. ✨
Step 3 · Glue & Hang
Place your cream cotton string → across the shapes. Attach each piece securely using glue stick or double-sided tape →. Work from the center outward so the garland hangs evenly. Let dry briefly, then hang using clear damage-free wall hooks → — no nails, no damage, barely visible!
💡 Pro Tips for a Clean Look
- 🎨 Stick to 3–4 soft colors only — muted orange, cream, white, and matte black. Your cardstock → sets the tone!
- 📏 Space pieces 4–6 inches apart — more room = lighter, airier feel
- 🚫 Skip the glitter and loud patterns — solid, smooth cardstock looks most elegant
- 🪵 Pair with natural materials — a wooden console table →, dried branches, or cream pillar candles → enhance the cozy vibe
- 🧹 One garland per room is enough — less is truly more here
🎨 Where to Hang It
- Above a console or entryway table — use clear wall hooks → for invisible hanging
- Across a plain wall — let the garland be the focal point
- Behind your dining table — pair with warm orange candles →
- On a front door — tie directly or use a small hook
- Above a shelf or headboard — subtle seasonal charm in bedrooms
Pick one focal spot — simplicity makes a bigger impact than covering every surface.
💭 Final Thoughts
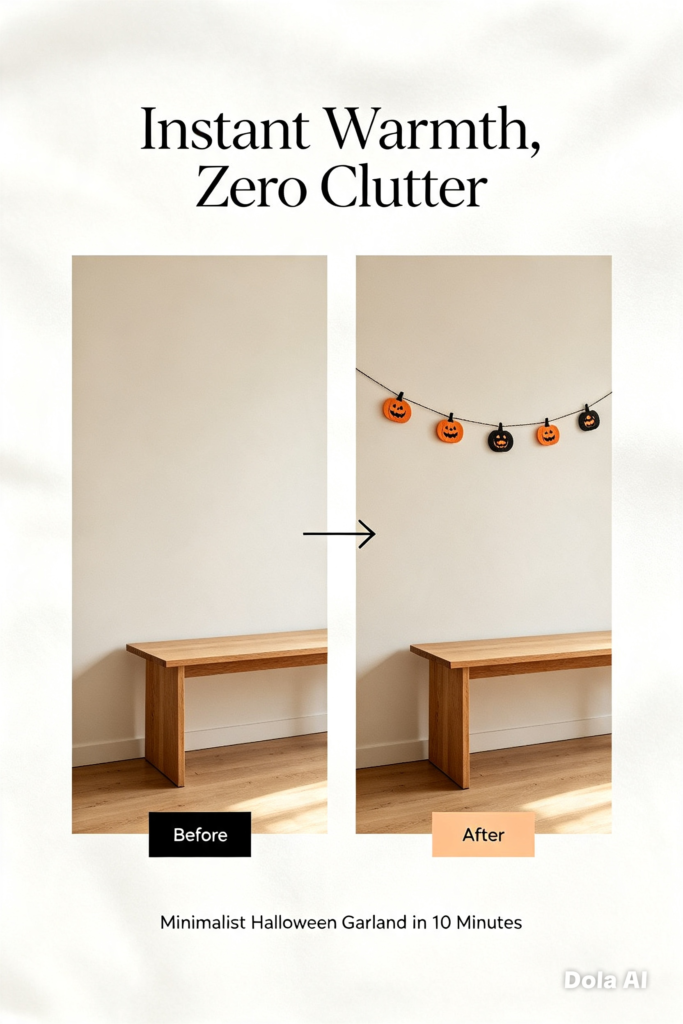
Celebrating Halloween doesn’t mean sacrificing your calm, clean style. This garland proves that 10 minutes + simple materials = all the seasonal charm you need.
Everything you need — string → · cardstock → · scissors → · glue → — is easy to find and budget-friendly. Make it once, enjoy it all October, then store it easily for next year.
Simple, sustainable, and beautiful. 🧡
Happy crafting! ✨
📌 You Might Also Like
- 📖 The Spooky Wheels on the Bus — 4.8⭐ 8.9K+ Reviews · Gentle Halloween Fun — pair your garland with the perfect Halloween storybook
- 🚿 BigFoot Shower Curtain Liner — 4.5⭐ 56.5K+ Reviews · Brighten Your Bathroom — fresh fall vibe for every room